VBS (Virtualization Based Security) is a new security feature appearing on Windows 11. This feature is announced to run independently to help the machine prevent malware or malicious code from entering the computer extremely strongly. Accompanied by that robustness is the consumption of resources and reduces the performance of the machine quite a lot. So you can optionally toggle VBS Windows 11 on and off to suit your needs.

Guide to disable VBS on Windows 11
I. How to check if VBS is turned on
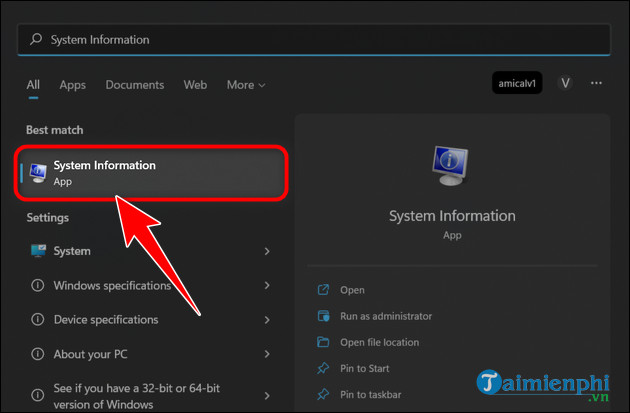
Step 1: Press the Windows key + S key combination. Then find and open the System Information software.
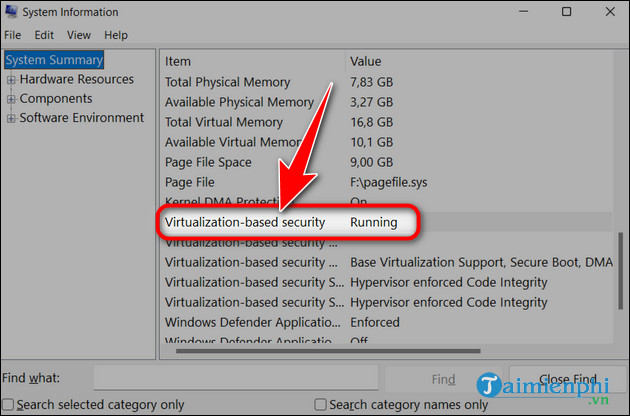
Step 2: A new window appears. You scroll down to find the Virtualization-Based Security entry. If the status is Running , VBS is on. Not enabled is disabled.
II. Instructions for disabling VBS in Windows Security
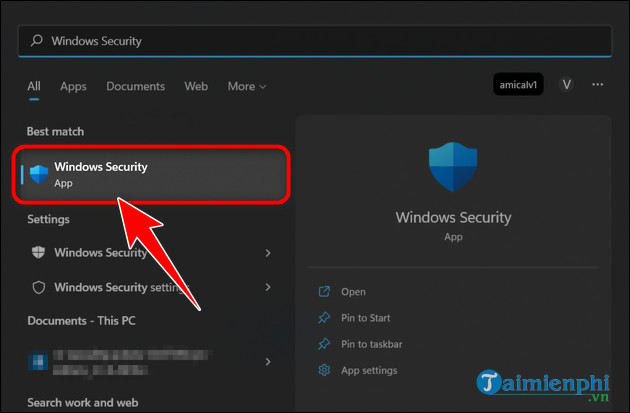
Step 1: Find and open the Windows Security software.
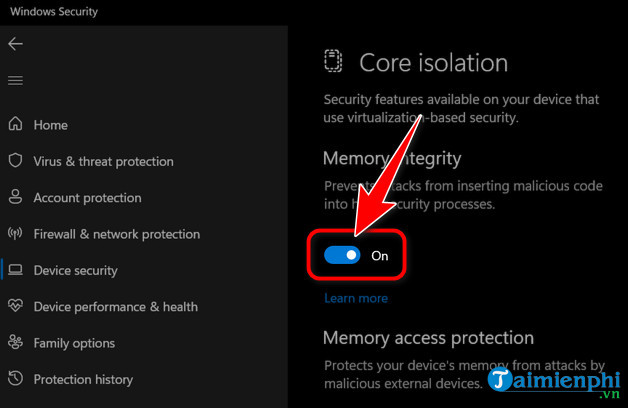
Step 2: Go to Device Security => click Core isolation details in the Core isolation section.
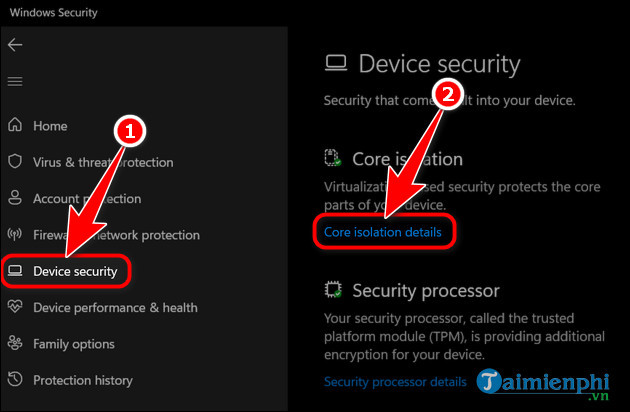
Step 3: In the Memory Integrity section, you toggle the switch to Off to turn it off and On to turn it on.
-Heed: If there is a notification from the system, you just need to press Yes to continue.
III. Instructions to turn VBS on and off with the Registry
Step 1: Press Windows key + R to open Run. Then type regedit and click OK.

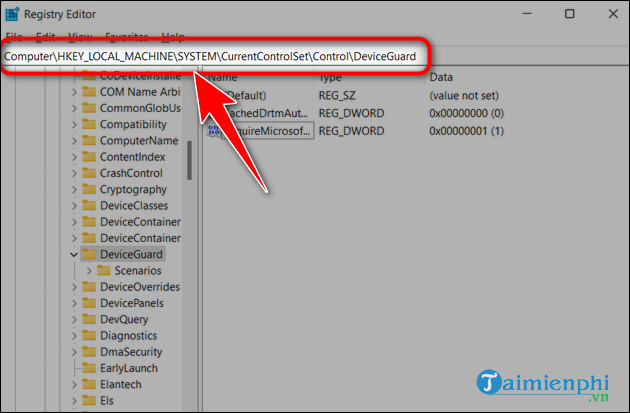
Step 2: In the Registry Editor window, follow the path below:
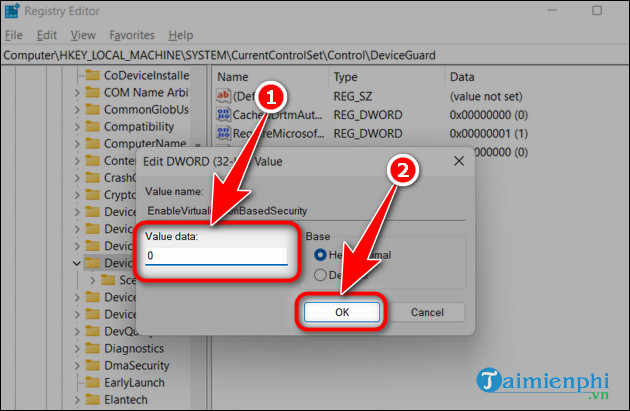
– HKEY_LOCAL_MACHINESystemCurrentControlSetControlDeviceGuard
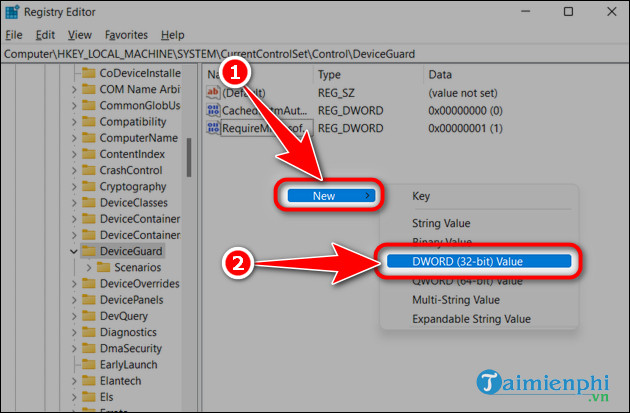
Step 3: Right click=> select New => DWORD (32-bit) Value.
Step 4: Name the newly created file EnableVirtualizationBasedSecurity.
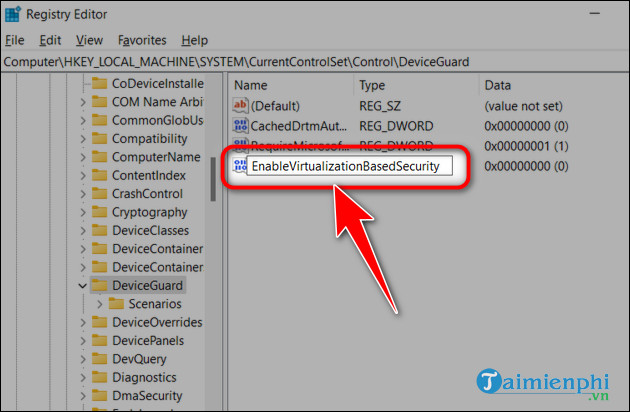
Step 5: Open the newly created file. Enter the value 0 in the Value box, and then click OK.
Step 6: Restart the computer to apply the change.
https://thuthuat.taimienphi.vn/cach-bat-tat-vbs-windows-11-71071n.aspx
When you turn on the VBS feature in Windows 11 you will experience optimal protection, while when you turn it off you will have a better performance experience. In addition, if you want to check the IP address on
 10 Of The Most Unique Hotels In The World
  17 of the Best Places in Canada for Solo Travelers